We had a great preschool "field trip" making a Thanksgiving feast together. The kids first sponge painted a tablecloth for our feast. Then we read a story about the first Thanksgiving and how the Pilgrims and Indians had a feast to give thanks for all they had.
The kids then got to go around to stations to help make our Thanksgiving feast with the Moms helping- one kid at each station then they rotated. Station 1: they helped make air popped popcorn and cut up apples. Station 2: they made turkey rolls. Station 3: they learned to make mini pumpkin pies and rolled up slices of turkey. Station 4: they helped make green beans and stuffing. (When they had extra time we wrote a list of all things each boy was thankful for which we read at the feast together.)
The kids then all learned how to set a table properly (using their place mats from their lesson on Tuesday as a guide). Afterwards we laid out our whole spread of food and, after a nice prayer, had a great feast. We all had a great time and it was so much fun for the kids to help make the food and set the table. Happy Thanksgiving!!


Turkey rolls: You start with the Rhodes dough that comes roll shaped. You need two rolls per child. Take the first roll and just put it on the tray this is the body of the turkey. Take the second roll and with a rolling pin roll it out flat. With a butter knife have the child cut the flat circle in half. With one half of the circle roll it into a snake shape and this is the neck and head of the turkey. With the other half of the circle, cut with a knife to make the feathers. When you have all the parts of the body done, have the children brush on a beaten egg white. This makes it shinny and it also helps it to stick together. Bake the turkeys at 400 degrees for 12-15 minutes. You don't need to worry about letting them rise. When your turkey is done, place 2 pretzel sticks in the bottom of the turkey for the legs. *We found that one roll cut in half (half for the body and the other half for the head and feathers works best!)

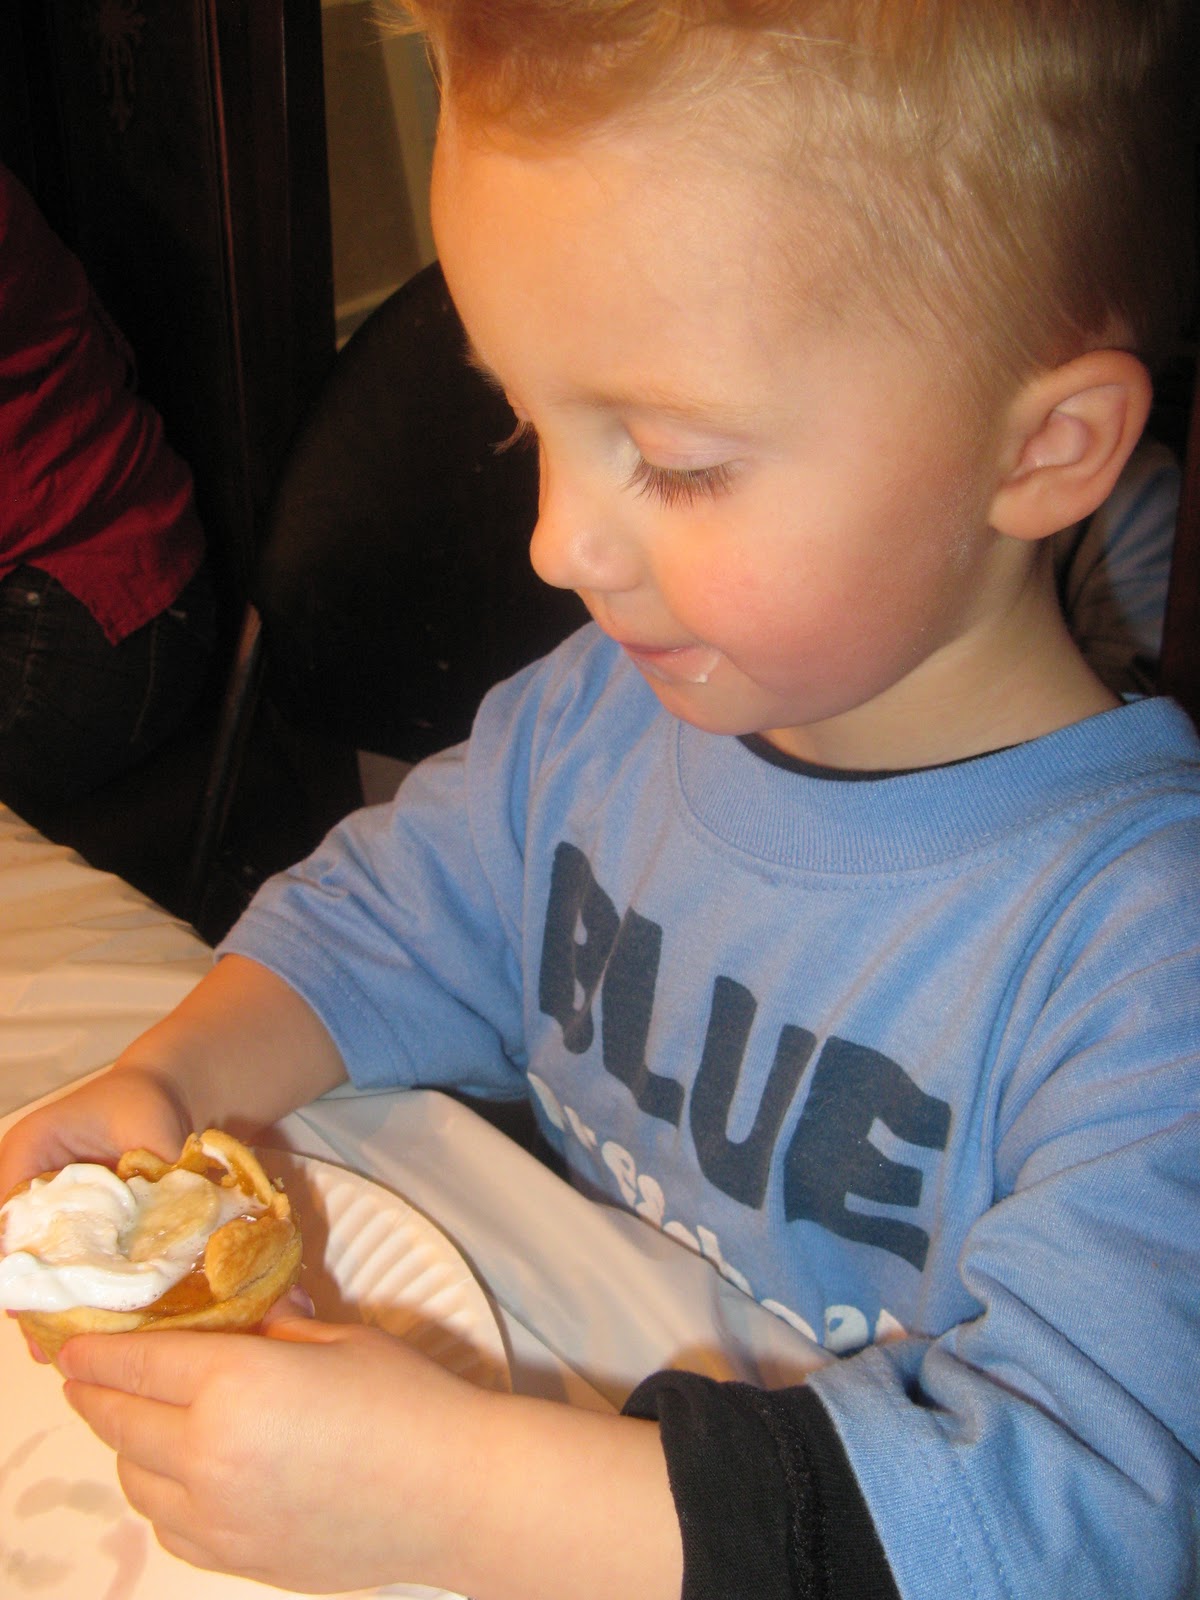
Mini Pumpkin Pies for dessert!
Mini Pumpkin Pie:
Makes 12 mini pumpkin pies
1. Use Pillsbury Allready Piecrust- Using a cup or 4 inch round cookie cutter, cut out 12 circles from your 2 9-inch pie crust doughs.
2. Place each circle into a pre-greased muffin tin. Press them in, letting the sides come up for a fun look. Score the bottom of your dough with a fork to keep the crust from bubbling up as it cooks.
3. Pour your filling into each muffin tin cup. Fill them to the very top
4. Bake your muffin tin pumpkin pies at 425* for 15 minutes. Then turn your heat down to 350* and bake them for 25-30 minutes. (This is 15-20 minutes less than a regular pie)
5. Add a dollop of whipped cream to each individual muffin tin pie.


**Blue Preschool mommies- if you have other pictures please post them!
Wow, R you got this up so fast. Such a cute idea and so much fun. Thanks for everything!
ReplyDeleteToday was so much fun. Thank you for all your hard work & for leading us in this fun activity. The food was so fun & delicious.
ReplyDelete(I took a ton of pics with Wendi's camera... so let's bug her to get them on the blog.)